Calculating Daylight Factors

Daylight factors: What's the difference between the BRE method and the 3D modeller?

When carrying out a Part L2 or EPC Certification using Tas Engineering, you can calculate daylight factors using either the 3D modeller or the ‘BRE method’, both of which are covered on our Tas Engineering Training Course.  So what is the difference between these two methods, and what are the implications of using each?

Daylight calculations can be performed in the 3D modeller and the Builidng Simulator

BRE Method

The method outlined in the SBEM technical manual for estimating the daylight factor of a space is based on the ratio of the area of glazing to the total area of all surfaces in the space, making corrections for the light transmittance of the glazing.

\( Daylight Factor = \frac{(45 \times Window Area\times Light Transmittance)}{(Total Room Surface Area \times 0.76)}    \)

Formula for estimating daylight factor for side lit window

As the formula only requires surface areas and light transmittance, it is simply not able to make any allowance for a number of other variables which could severely impact the real daylight factors: 

  • External shading – either other buildings or shading devices such as brise soleil.  If you have another building directly adjacent to your window, or shading fins largely obscuring the window, these will not reduce the daylight factors as they should.
  •       Complex internal geometry – for example this might be an unconventionally shaped room, a low bulkhead near the windows which might reflect more light straight back out, or sloped surfaces which would affect the reflectance within the space.
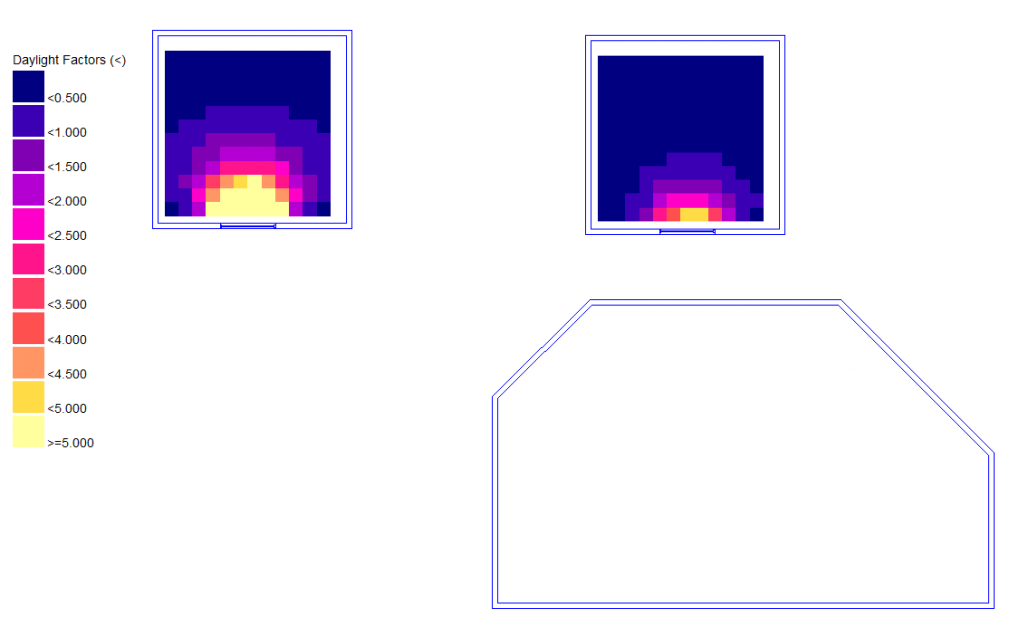
  •       Borrowed light – light which in reality enters your space through an adjacent zone via internal glazing, or ‘null’ partitions (e.g. in Tas, beyond the 6m perimeter zoning line) or through an atrium or lightwell/lightpipe.  No allowance can be made for these situations with the BRE Method
  •       ‘Lost light’ – In the same way that light can be ‘borrowed’ from another space, it can also be ‘lost’ to another space.  The formula above does not allow for light to be lost through for example a null wall at the rear of the zone, instead assuming all light contributes to the daylight factor of the study zone.

Why use the BRE method if it has such limitations?

Despite its limitations, the BRE method is still very useful; for simple geometries where there is no question of borrowed light or external shading the BRE method is a good approximation to the real value, and in addition it is very fast and easy to calculate. 

In order for software to calculate daylight factors more accurately, the software needs to have a daylighting engine and be able to take detailed geometry as an input. This daylight engine must carry out a simulation rather than a calculation, therefore will be more time consuming in terms of set up and analysis.
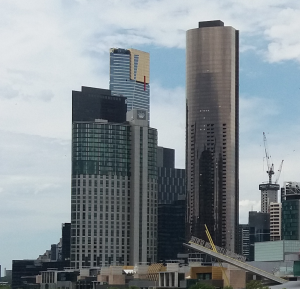

Tas 3D Modeller

Ready-made daylight model

One benefit of using Tas to calculate daylight factors is that you will already have built your 3D model in Tas 3D, so no additional time is required to produce a separate model for daylighting.  The model could potentially have great levels of detail and complexity, and some of the features listed above, including external/self-shading, complex internal arrangements, borrowed and lost light, etc.


In the 3D Modeller, external geometry clearly affects daylight factors


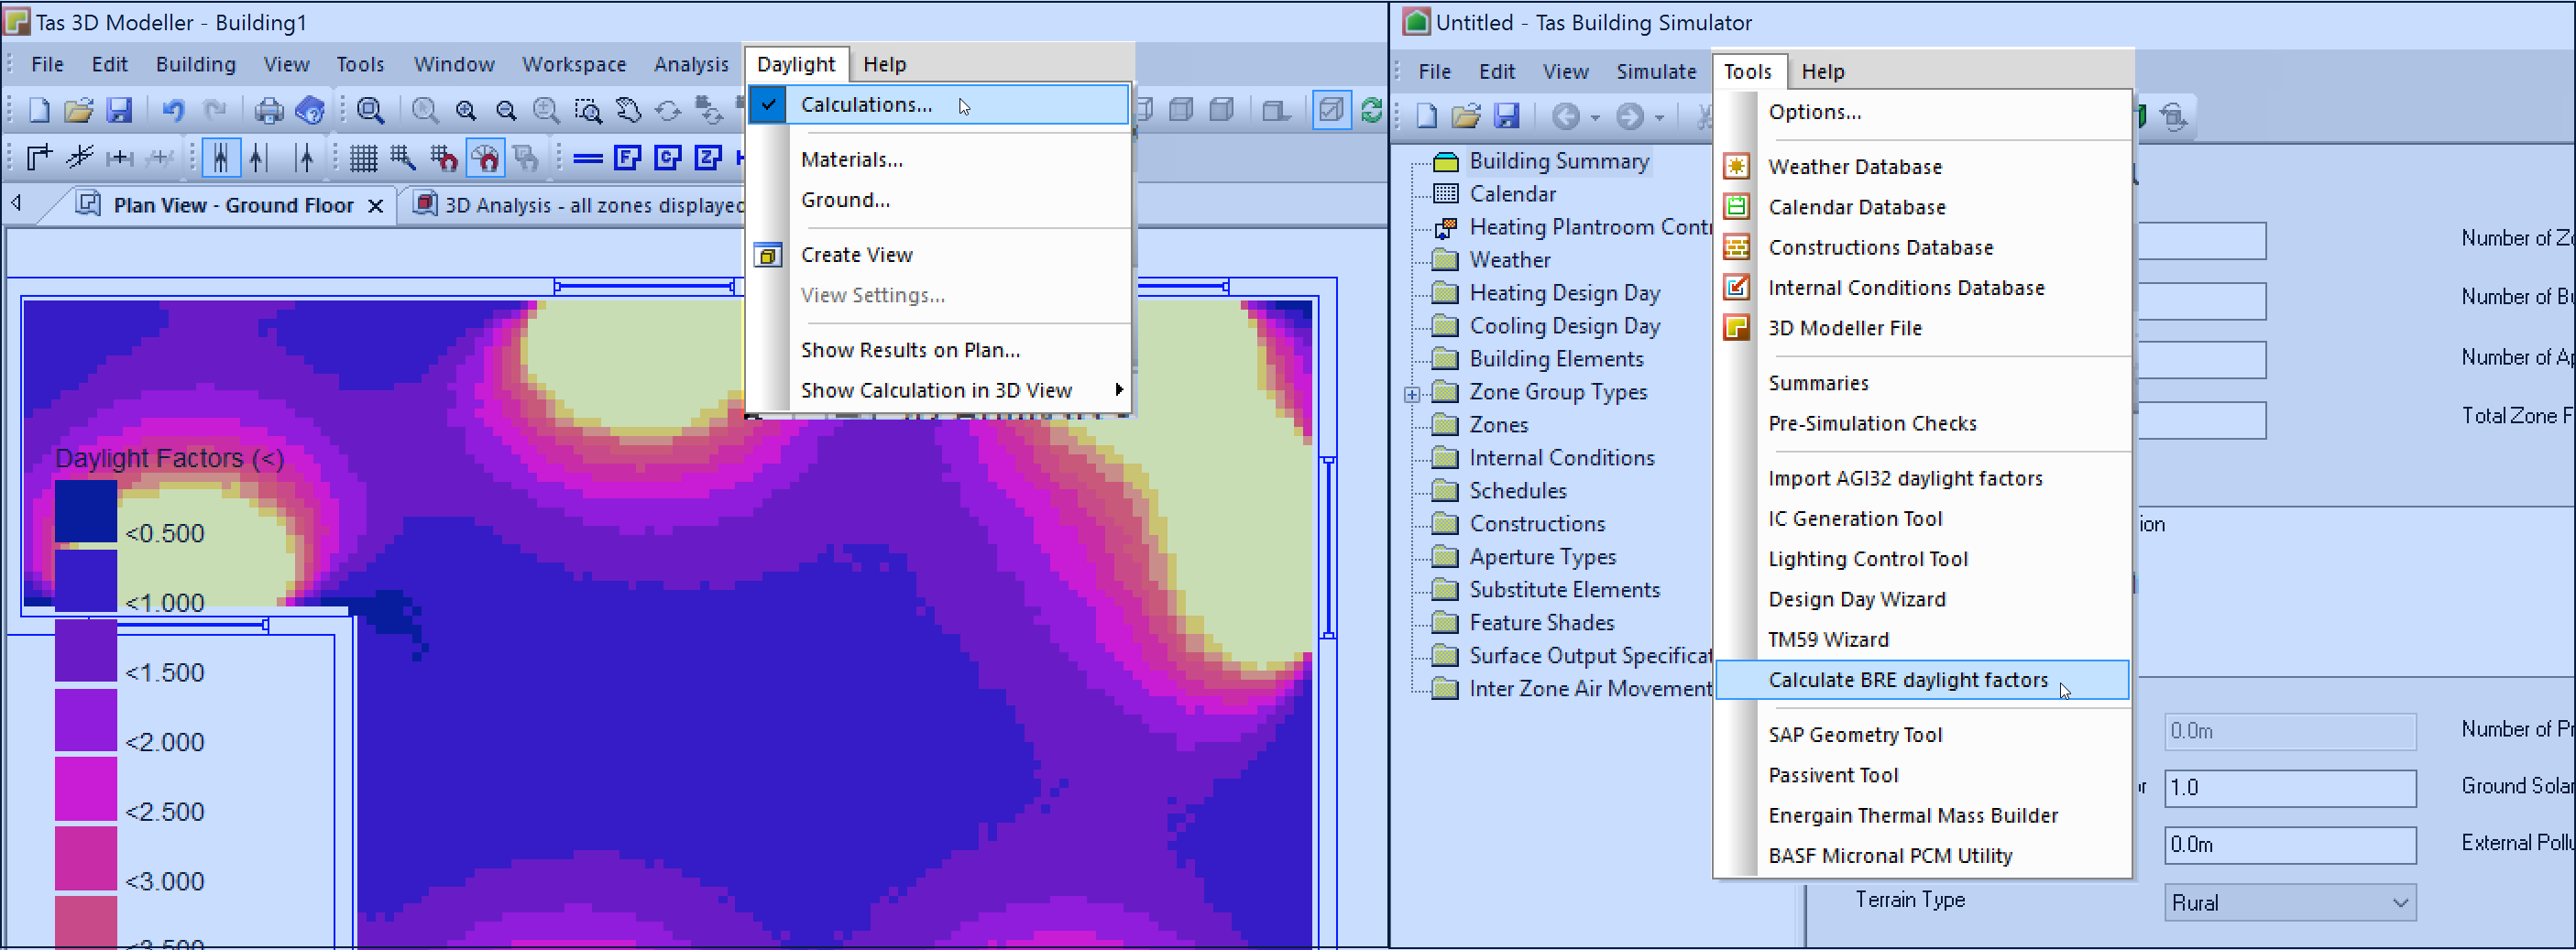
As the latitude & longitude is already known in the 3D Modeller, the sun position can be calculated for the entire year and hence daylighting calculations can be performed for any hour of the year and for numerous sky models.  The user will just need to assign light reflectance and transmission values to each surface in the model, which can be set globally or uniquely, in one quick and easy process. 

The daylighting engine in the 3D modeller simulates luminous energy transfer between a light source (sun & sky), and each surface in the 3D model. That energy can be absorbed on the first surface it lands on, or a portion of it can be reflected to other surfaces any number of times.  The user can specify when to stop the simulation by adjusting the accuracy settings from a quick ‘no bounce’ calculation, right up to ‘detailed analysis’, where even the lowest accuracy setting will be more accurate than the BRE method.  The accuracy options in the 3D modeller have been designed so that increasing accuracy increases the daylight factor, so the no bounce option always represents the minimum daylight factor a space can expect.  ‘Detailed analysis’ gives you reassurance that a significant proportion of the initial light has been accounted for and so you can obtain the most accurate results in any situation.  


Which method should I use?

This may seem obvious – the BRE method appears limited and the 3D modeller method so accurate – why wouldn’t you always use the 3D modeller daylighting engine?  Well, in general our recommendation would be to always use the 3D modeller for its accuracy and certainty that it has fully accounted for the zone geometry, shading, inter reflections and so on.  However, the speed of the BRE method means that it may be very well suited to design work where window sizes and transmission value are changing very frequently, particularly if the project is very large. As the daylighting engine in the 3D modeller is so detailed, the larger the model the longer it will take to run.

As the design progresses then it will become important to ensure progress is based on full facts, and therefore it becomes increasingly important to ensure detailed simulation, in every respect.

Exporting SAP geometry from Tas

The TBD SAP geometry tool now has the option to export data in the JPA Designer XML format.

The SAP geometry tool uses the data from the TBD file to calculate surface areas and thermal bridges according to SAP 2012 guidelines. Geometry and heat loss data is exported to Excel (with an option to include images showing thermal bridge locations). The tool can export data in XML formats suitable for JPA Designer or NHER Plan Assessor.

Carrying Out a Domestic Overheating (TM59) Assessment Using Tas.

In 2017, CIBSE released a new technical memorandum, TM59, which provides a method of assessing overheating in homes. While other overheating criteria exist, i.e. TM52 for non-domestic buildings, TM59 differs from the rest by requiring more work from the assessor to complete the assessment. To help speed up the process of carrying out a TM59 assessment, Tas has introduced a TM59 wizard in V9.4.2. The first feature of the TM59 wizard is the ability to create the internal conditions for a TM59 assessment. The TM59 guide dictates the internal gains to be used during the assessment for most room types. Due to this, the wizard allows you to assign the gains to the spaces by setting the room type.

A Screenshot of the Gains Setup page, showing the Room Type being set for a double bedroom.

For most assessments, the gains specified in the TM59 guide must be used, but there are cases when some freedom is allowed and the wizard supports this via custom values. The second feature of the TM59 Wizard is the ability to make multiple scenarios and run them simultaneously. This is useful as while the minimum that needs to be done to pass a TM59 assessment is to pass all criteria while using a CIBSE DSY1 2020, high emissions, 50% percentile scenario weather file; TM59 strongly recommends the assessments to be run with multiple different future weather files, however these assessments do not need to pass. To help aid the creation and simulation of multiple different scenarios, the wizard allows the creation of multiple scenarios using different weather data, or with any blinds included in the model removed. Not only are these scenarios created by the wizard, they will also be simulated automatically by the wizard after creation.

A screenshot of the Options page, where multiple weather files selected.

The final feature of the TM59 Wizard is the ability to produce reports for each simulated scenario, detailing if they pass or fail. For TM59, the compliance criteria differs if the home is predominantly naturally ventilated or mechanically ventilated. If the home is naturally ventilated, it will need to pass both of the following criteria:
  • For Living Rooms, Kitchens and Bedrooms – These spaces must meet Criterion 1 of TM52, i.e. the number of hours where ΔT is greater than or equal to 1K during the summer period cannot be more than 3% of the summer occupied hours.
  • For Bedrooms only – The operative temperature cannot exceed 26 °C between the hours of 10pm and 7am for no more than 32 hours.
While if the home is mechanically ventilated, the home will need to pass the following criteria:
  • Occupied rooms should not exceed an operative temperature of 26 °C for no more than 3% of the annual occupied hours.
For each simulated scenario, a report will be generated detailing if the spaces in the model have passed or failed. These reports can be exported to PDF, Excel or Word at a click of a button.

A screenshot of the Reports page, showing the report produced by the wizard.

If you are interested, more information about TM59 including how to purchase the guide can be found here.

Update (June 2022)

The TM59 wizard has been updated in Tas to assist with demonstrating complaince with Approved Document O. There is a new aperture function available in the software which allows you to easily setup windows that stay open all night if the internal temperature exceeds 23°C at 11pm.

For more details, please see the TM59 documentation.

Importing gbXML data into Tas

The Solution for Reusing gbXML Geometry

Tas has a quick, robust, and versatile gbXML import capability which allows files to be imported quickly, inconsistent geometry automatically identified and repaired, and further edits to be made.

Modified geometry can be exported from Revit and merged into the Tas 3D file, retaining any changes made by the user.

Imported gbXML geometry can be used as the basis for any Tas calculation type, including daylighting and CBDM, UK Building Regulations, detailed HVAC analysis, and more!

EDSL can provide extensive guidance on the subject of gbXML re-use, including videos, example files, and documentation.

More information can be found here.

AIRAH Building Simulation Conference 2017

EDSL at AIRAH Building Simulation Conference November 2017

EDSL were sponsors of the AIRAH Building Simulation Conference in Melbourne, Australia.

EDSL’s delegates met academics and engineers from Australia and elsewhere and demonstrated the advantages of using Tas for building thermal analysis, daylighting, and advanced plant modelling.

EDSL were pleased to offer promotional free trials of Tas to conference attendees.

IBPSA Building Simulation 2017 Conference

EDSL at IBPSA Building Simulation Conference August 2017

EDSL were silver sponsors of the IBPSA Building Simulation Conference in San Francisco, USA. Over the three days of the conference our delegates took part in many interesting discussions with academics and engineers from around the world who wanted to learn about the advantages of using Tas for building thermal analysis, daylighting, complex plant modelling, and Ashrae 90.1 projects.

Michael Sawford, Vice President of EDSL USA, was co-presenter of two sessions on building performance metrics and energy modelling outputs.

EDSL were pleased to offer promotional free trials of Tas to conference attendees.

Interoperability with EnergyPlus

In the latest version of Tas (v9.4.2) the software’s capability to import and export IDF files has expanded again.

  • Exported IDF files will now include an IdealLoadsAirSystem object for each zone, allowing immediate simulation of room loads in EnergyPlus.
  • Surface shading data can now be imported from EnergyPlus CSV files

Tas can import or export data between the TBD and IDF formats, transferring the following data types:

  • Building geometry
  • Internal conditions (gains, schedules, thermostats, humidistats)
  • Construction data (building fabric)

EPW weather data can also be imported.

This capability allows cooperation on projects between Tas and EnergyPlus users, and provides a way for EnergyPlus users to become familiar with Tas using one of their existing projects.