Select Design Day Weather Data - Custom
The Select Design Day Weather Data - Custom page will only appear in the wizard if the Custom Weather Data option is selected on the Select Design Day Type page. This page is split into 3 seperate tabs.
Cooling Weather Source
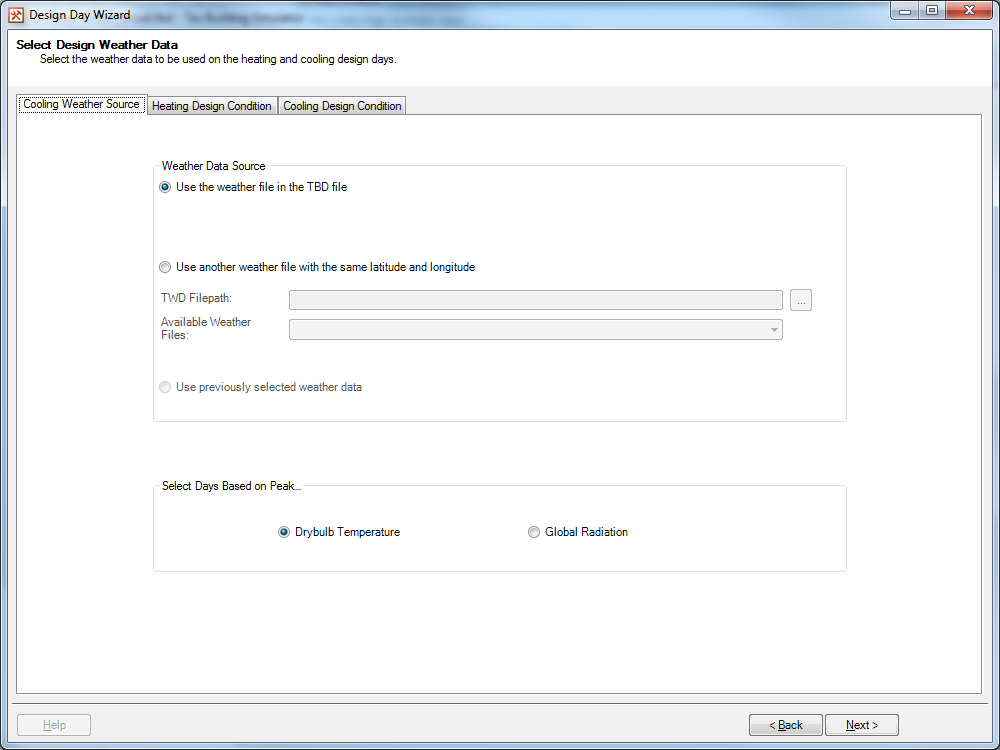
Figure 2.3.1: The Cooling Weather Source tab
The Cooling Weather Source tab will only appear if the user checked the Create a Cooling Design Day option on the Select Design Day Type page. On this tab the user will select the source of the weather data used on the cooling design day, along with determining how eligible days are selected.
The Weather Data Source box allows the user to determine the source of the weather data. The user has the following three options to choose from:
Use the weather file in the TBD file – When this option is selected, the wizard will obtain five eligible days from the weather data in the TBD file and allow you to choose one of these days as the basis for the cooling design day weather.
Use another weather file with the same latitude and longitude – When this option is selected, the user will be required to select a weather database file for the wizard to use. When an appropriate database is provided, the wizard will list all weather files with the same latitude and longitude as the current weather file in the TBD file. Upon choosing one of these weather files, the wizard will obtain five eligible days from that weather file and allow you to choose one of these days as the basis for the cooling design day weather.
Use previously selected weather data – When the Design Day Wizard is first run on a file this option will not be available. This option is only available once the wizard is re-run and allows the user to use the weather data they setup previously for the cooling design day.
The Select Days Based on Peak… box allows the user to determine how the eligible days are selected from the following two options:
Drybulb Temperature – The wizard will obtain the five hottest days from the source weather data. The hottest days are determined based on peak temperature.
Global Radiation – The wizard will obtain the five days with the largest global radiation from the source weather data.
Please note that the selection of the day is not done on this tab but the Cooling Design Condition tab.
Cooling Design Condition
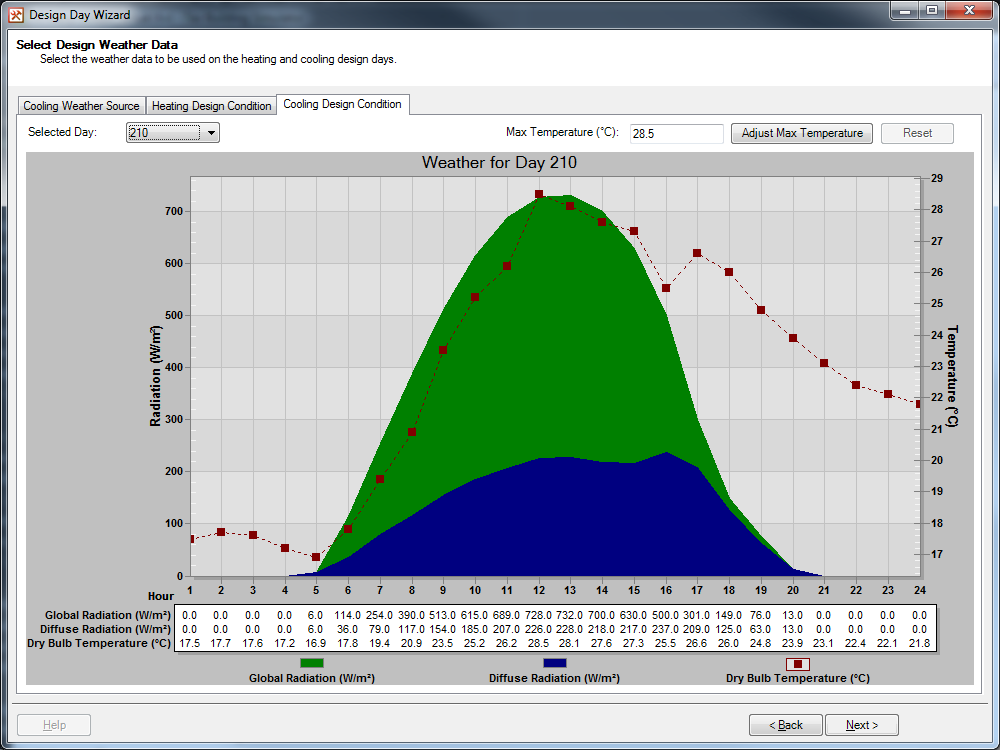
Figure 2.4.1: The Cooling Design Condition tab
The Cooling Design Condition tab will only appear if the user checked the Create a Cooling Design Day option on the Select Design Day Type page. On this tab the user will setup the weather data used on the cyclic cooling design day.
In the top left corner of the tab, there is a Selected Day combo box. There are five options available in the combo box, and these are the 5 eligble days from the selected weather data on the Cooling Weather Source tab. The data for the selected day appears in the graph and table below the combo box.
On the graph: the green area plot relates to the global radiation values in the weather file, the blue area plot relates to the diffuse radiation values in the weather file and the red line graph relates to the external drybulb temperature in the weather file. The global and diffuse radiation plots use the axis on the left hand side of the screen, while the temperature plot uses the axis on the right hand side of the screen.
Underneath the graph there is a table detailing the global radiation, diffuse radiation and external drybulb temperature at each hour of the day. The graph and table will display in either SI metric or US customary units depending on which unit system Tas is currently using.
In the top right corner there is a field displaying the current peak temperature from the selected day. If the user wishes, they could enter a new peak into this field. Once the Adjust Maximum Temperature button is pressed, the temperature at each hour is shifted by the difference between the user’s entered max temperature and the existing one. I.e. if the new max was 32 °C and the existing one was 28.5 °C, then 3.5 °C would be added to the temperature in each hour. The change in temperatures will be reflected in the graph (the axis will change) and in the table.
Please note that when the weather data is amended using the Adjust Maximum Temperature field, or when the Use Previously Selected Weather Data option was selected on the Cooling Weather Source tab, the combo box will be disabled and greyed out. To be able to switch to a different day after using the Adjust Maximum Temperature field, the user will need to press the reset button. To change weather after selecting Use Previously Selected Weather Data, the user will need to return to the Cooling Weather Source tab and choose one of the other options.
Heating Design Condition
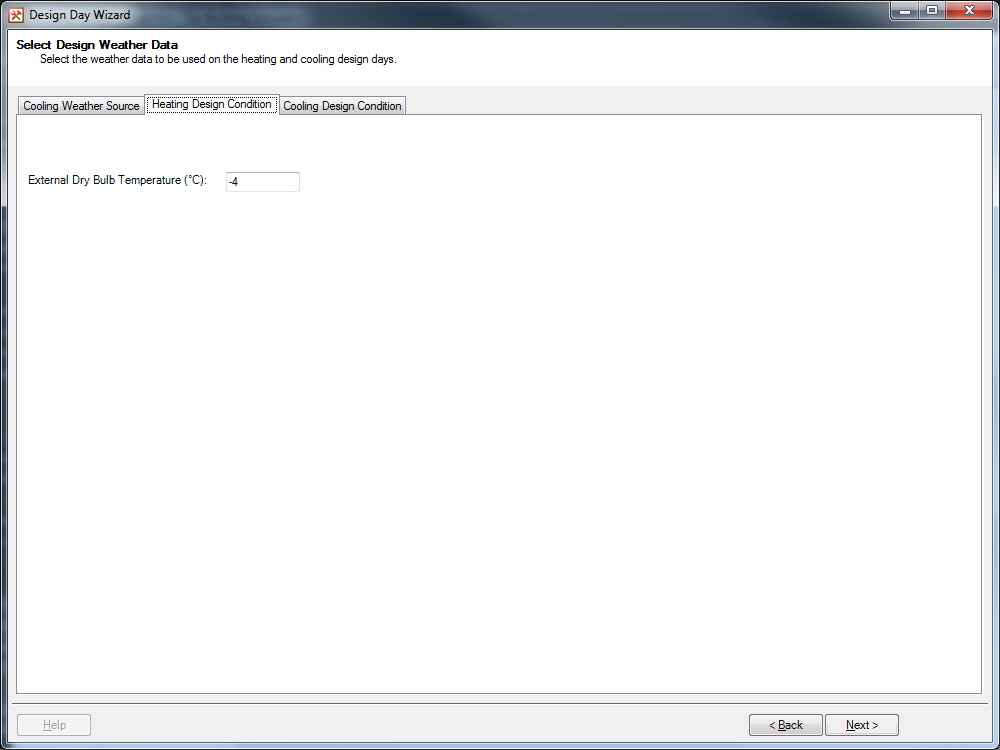
Figure 2.4.1: The Heating Design Condition tab
The Heating Design Condition tab will only appear if the user checked the Create a Heating Design Day option on the Select Design Day Type page. On this tab the user will setup the weather data used on the steady state heating design day.
In the External Drybulb Temperature box the user needs to enter the design external drybulb temperature they wish to be used during the steady state heating design day. This can be entered in either °C or °F, depending on the unit system Tas is using.